Your mountain bike can travel in the hold without a scratch, as long as you give it two hours before departure and the right packaging. This guide gives you the complete method, from booking your flight to your first ride on arrival: which protection to choose, how to strip the bike down, what to slip into the bag, what is forbidden on board, and how to put everything back together without forgetting a thing.
A bike that arrives with a bent derailleur or a warped rotor is the start of a ruined trip. More often than not, the baggage handler isn't to blame: a fragile part was sticking out of the packaging. The good news: it can be avoided, and you only have to learn it once.
This guide is for every rider who travels with their bike: whether you are heading off to ride in Morocco or the Caucasus, or coming from abroad to ride with us in Switzerland. Over the coming weeks, we will add photos of every step and a step-by-step video.
Bag, box or hard case: choose your protection
A cardboard bike box and a padded soft bag are both good choices; a hard case is worth it if you often travel with a high-end bike. The box protects very well because it is rigid, it works for the outbound and the return journey, and it is often the option that needs the least dismantling. The bag rolls to the check-in desk and folds away once you arrive.
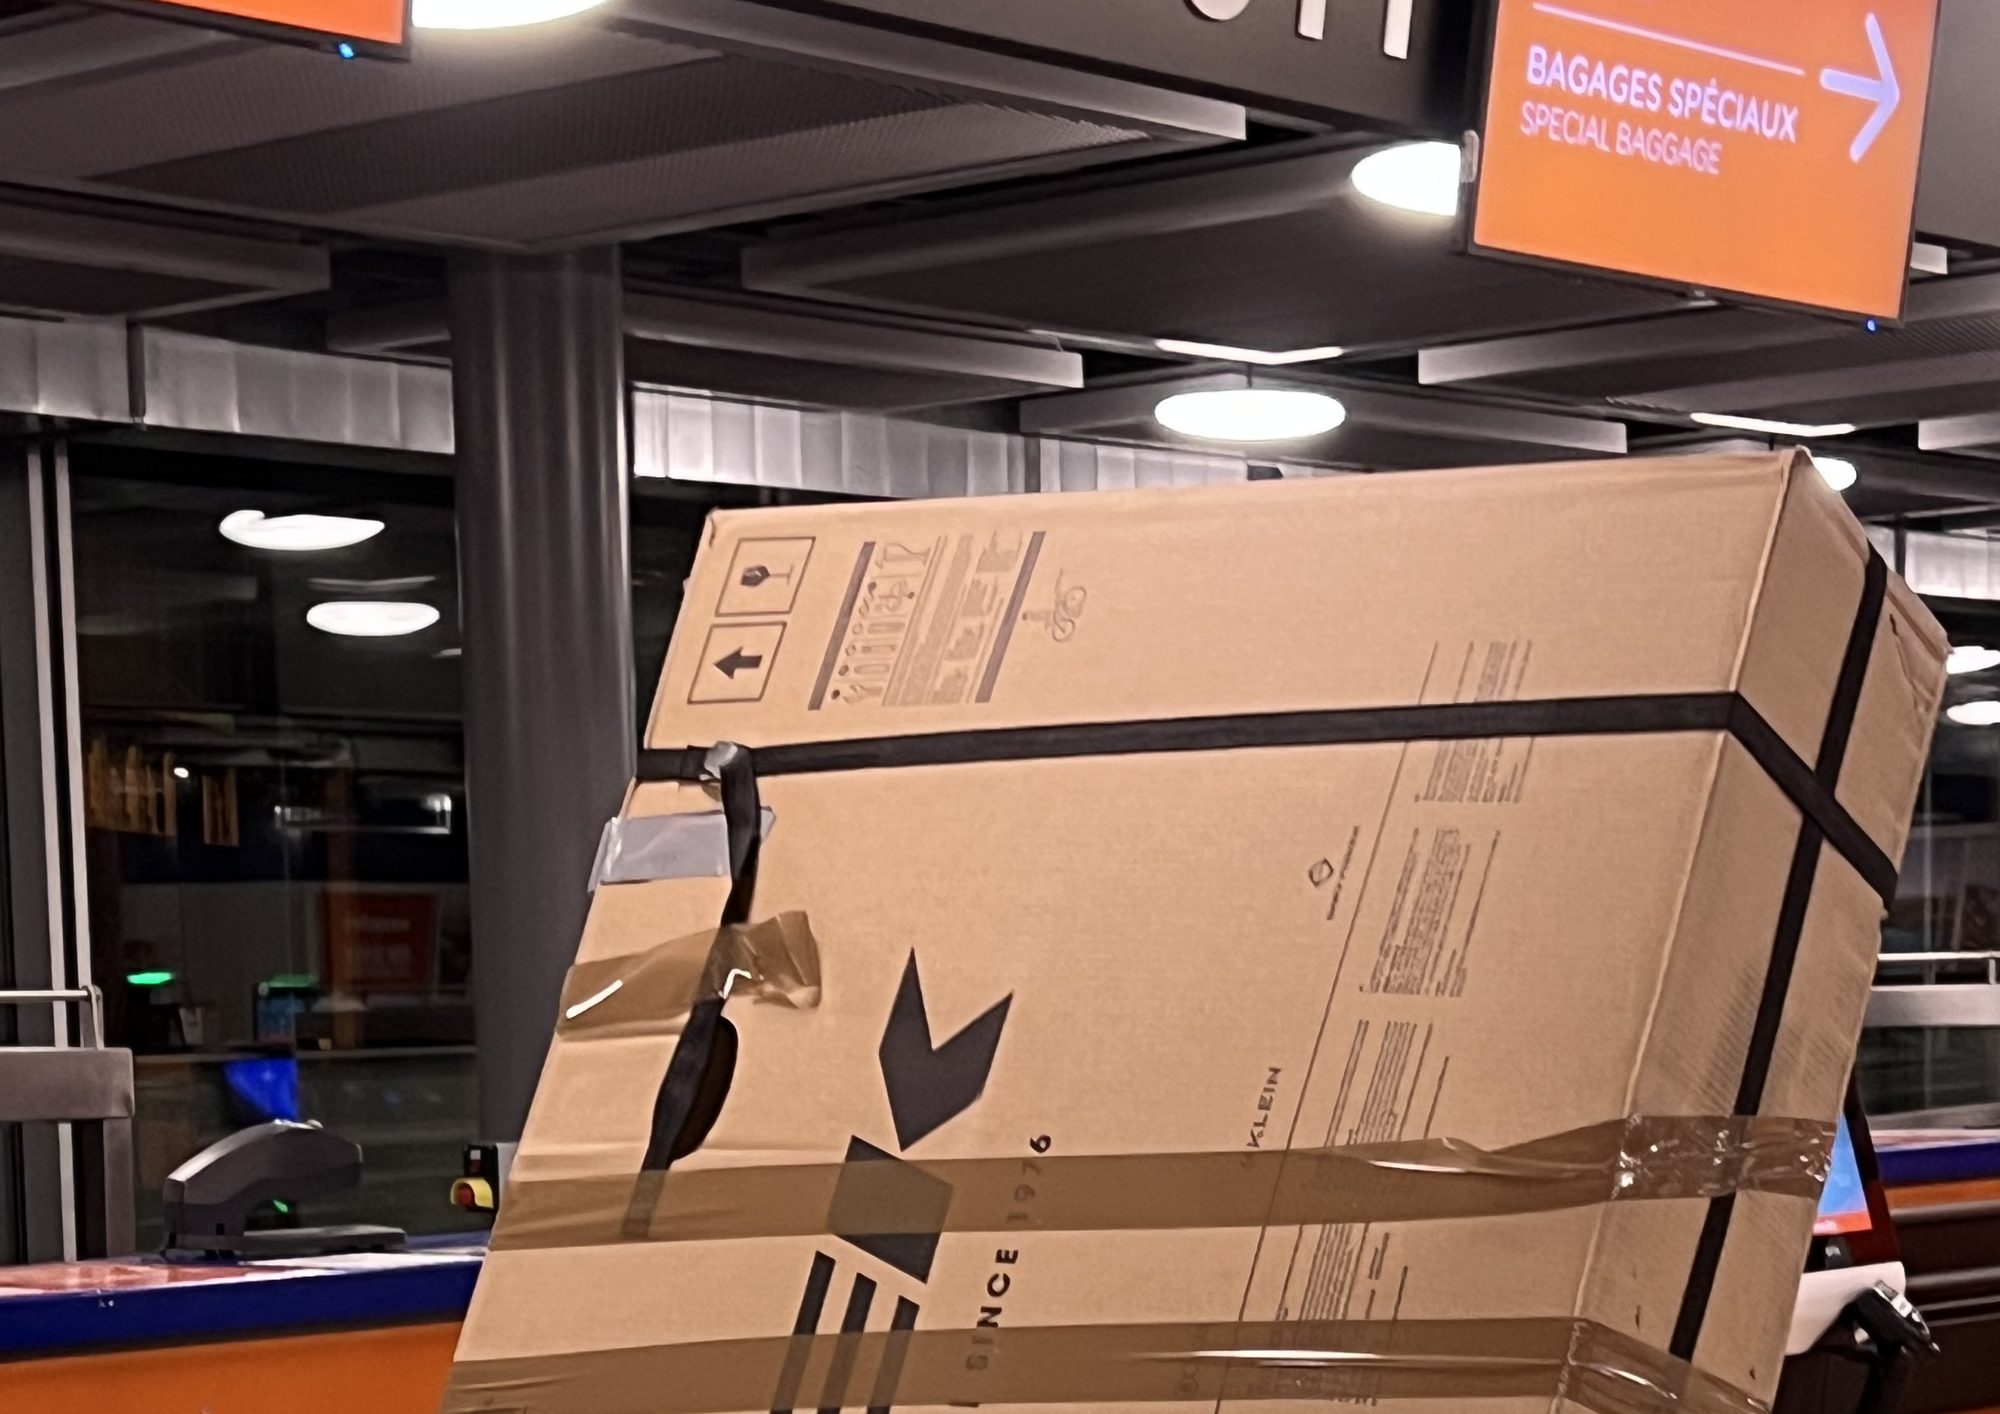
The cardboard bike box
- Protection: very good, because it is rigid. It does not like rain unless it is wrapped.
- Empty weight: about 3 to 5 kg.
- Price: free from a bike shop, sometimes supplied at the airport.
- Dismantling: often the lightest: front wheel, pedals, handlebar turned.
- On arrival: it works for the outbound and the return journey, as long as you keep it dry.
The padded soft bag
- Protection: good, with reinforcements around the derailleur and the fork.
- Empty weight: about 7 to 10 kg.
- Price: about 400 to 800 CHF.
- Dismantling: both wheels, the handlebar, often the derailleur.
- On arrival: it folds and fits in a car boot or a hotel room.
The hard case
- Protection: the best.
- Empty weight: about 10 to 15 kg.
- Price: about 500 to 1,000 CHF.
- Dismantling: both wheels, the handlebar, often the seatpost.
- On arrival: bulky, it does not fold and is hard to store.
Three criteria make the difference:
- Total weight. Most airlines cap sports baggage at 23 or 32 kg. An enduro bike weighs 15 to 17 kg: with a 13 kg hard case, you quickly go over 23 kg before you have even added your helmet.
- What you do with it on arrival. On a multi-stop trip, the packaging has to wait for your return somewhere. A folding bag fits anywhere, a box or a hard case much less so. Before travelling with an organiser, ask where the packaging will stay during the week.
- Getting around on the ground. Wheels make all the difference between the station, the car park and the check-in desk.
If you travel with a box, wrap it completely in stretch film. If it rains on the tarmac while the bags are being loaded, a wet box loses all its rigidity. On arrival, keep it dry for the return, and pack a roll of film and some tape to close it up again.
If you only travel occasionally, look into renting too: some bike shops rent out padded bags by the week.
Before you book: the airline rules
Your bike travels as sports baggage, and it has to be declared in advance. Never add it on the day of departure: space in the hold is limited, and the price at the desk is almost always higher than online.
The rules change from one airline to another, and sometimes from one year to the next. Two examples departing from Switzerland, checked in October 2026:
Edelweiss
- Price: first bike included as sports equipment.
- Maximum weight: 23 kg.
- Maximum dimensions: 275 cm (height + width + depth).
- Registration: up to 4 days before departure.
SWISS
- Price: charged, depending on the route.
- Maximum weight: 23 kg within the Economy allowance, 32 kg as an additional bag.
- Maximum dimensions: 280 cm (height + width + depth).
- Registration: up to 72 hours before departure.
With other European airlines, expect anything from a few tens to over a hundred francs per flight. Always check three things on your airline's website when you book:
- The price, outbound and return, and whether it is included in your allowance.
- The maximum weight and dimensions of the packaging. Measure your bag: some exceed 280 cm once filled.
- The packaging requirements. Some airlines refuse soft bags and ask for a box or a hard case. Edelweiss, for example, requires deflated tyres, front wheel and pedals removed and the handlebar turned.
A few common-sense rules:
- Choose a direct flight. Every connection means one more round of handling and one more chance that your bike gets left behind.
- Check your insurance. Third-party liability does not cover damage to your own bike. See what your household insurance, travel insurance or credit card covers, and keep the bike's invoice.
- Plan your transfer on arrival. A packed bike does not fit in just any taxi. When you book your transfer, give the number of bags and their dimensions, and get it confirmed in writing. Even with a confirmation, a driver can refuse at the last minute: keep a back-up plan.
One week before: service your bike and note your settings
Leave with a serviced bike, not a bike to repair on arrival. Abroad, a part you cannot find can cost you two days of riding. One week before departure, you still have time to order what is missing.
The service
- Brakes: more than 2 mm of pad left, otherwise change them before you go. A series of descents in Morocco or the Caucasus wears them faster than your usual rides.
- Tyres: knobs in good shape, no cuts in the sidewalls. If you run tubeless, top up the sealant if it is more than three months old.
- Drivetrain: clean chain, cassette and chainring, gears indexed. Check that your derailleur hanger is not already twisted (except with SRAM T-Type, which has none).
- Suspension: no oil leaking on the stanchions, no play in the pivots.
- Bolts: stem, handlebar, axles and pivot bolts. If you don't know how to check them, have your bike shop do it.
Your reference marks
Note everything you are about to change by dismantling. When you put it back together, you get your bike back exactly the way you like it, without guesswork.
- Saddle height: a piece of tape around the seatpost, flush with the frame.
- Handlebar: a permanent marker line on the bar, at the edge of the stem, to find the angle and centring again.
- Levers and controls: a marker line on the bar next to each clamp.
- Suspension pressures: note the fork and shock pressures, and the number of clicks for each setting.
- Tyre pressure: note the one you use on the trails.
- A photo of the cockpit, from the front and the side: it is the quickest reference of all.
Parts to order now
The most important part is a spare derailleur hanger, specific to your frame. It is the part that breaks most often on a trip, and far from home it is almost impossible to find. If your bike has a SRAM T-Type drivetrain, you don't need one: the derailleur mounts directly on the frame, without a hanger. The full list of parts to take is further down, in "What travels with you".
Step by step: dismantle and pack your bike
Allow an hour the first time, half an hour once you have the knack. Do it calmly the evening before, not on the morning of departure. The method below is the full version, for a padded bag. With a box, you usually dismantle less: the front wheel and the pedals, with the handlebar turned along the frame. Brake spacers and fork spacers are still essential.
What you need
- Allen keys (4, 5, 6 and 8 mm) and a T25 Torx key
- A 15 mm pedal spanner, if your pedals need one
- A torque wrench, essential on a carbon frame or handlebar
- Plastic brake spacers, one per caliper
- A fork spacer and a rear axle spacer, matching your axle sizes (Boost or not)
- Foam pipe insulation, tape, zip ties and an old rag
- A freezer bag for small parts
- A luggage scale
The steps
- Clean the bike. A clean bike is easier to dismantle, and it goes through customs without raising questions: some countries check for soil on the tyres.
- Shift into the smallest cog, then remove the pedals. To loosen them, always turn the spanner towards the back of the bike, on both sides: the left pedal has a reverse thread. Put the pedals in the freezer bag.
- Remove the wheels and immediately slide a spacer into each brake caliper. Without a rotor or a spacer, one squeeze of the lever is enough to close the pistons, and you can no longer fit the wheel.
- Protect the rotors. The safest is to remove them (six T25 Torx bolts or a Center Lock lockring) and store them flat, in cardboard between two sheets. Otherwise, put the wheels in wheel bags, rotors facing the inside of the bag.
- Fit the axle spacers. The fork spacer stops the fork legs from being squeezed together by a knock, the rear spacer does the same for the rear triangle. Your bike shop often keeps them from the boxes of new bikes.
- Remove the rear derailleur. Unbolt it from its hanger, without opening the chain or cutting the cable. Wrap it in the rag and fix it inside the rear triangle with a zip tie. It no longer sticks out, it can no longer bend. With a SRAM T-Type drivetrain, mounted directly on the frame without a hanger, follow SRAM's instructions.
- Remove the handlebar. Unbolt the stem faceplate, lay the bar along the top tube on a piece of foam, and tie it in place. Don't kink the brake hoses and leave them a gentle curve. Put the faceplate straight back on the stem with its bolts, so you don't lose them.
- Lower the saddle. With a dropper post, drop it all the way, that is enough. With a standard post, take it out if the bike is too tall for the bag: your tape mark is already in place.
- Protect the frame. Foam insulation on the tubes, the rag on the chain, tape to hold it all. The sensitive spots: the top tube, under the handlebar, and the drive-side chainstay.
- Let most of the air out of the tyres, without making them flat. Airlines often require it. Keep about 1 bar in tubeless tyres, so the tyre stays seated on the rim. No need to let the air out of the suspension: the hold is pressurised.
- Put the bike in the bag. The frame in the middle, on its supports, strapped in. The wheels in their compartments, one on each side. Check that nothing touches the rotors.
- Fill the gaps wisely. Helmet, knee pads, shoes and clothes make excellent padding. But watch the weight, and nothing forbidden in the bag: no CO2 cartridges and no batteries.
- Weigh and label. Weigh the closed bag. With a box, wrap it in film first, then put the labels on top. Put one label outside and one inside, with your name, phone number and the address of where you are staying. Add "Fragile" if you like, without counting on it too much.
- Take four photos of the packed bike and the closed bag. If anything breaks, they prove its condition at departure.
The guide's tip: slip a small tracker (AirTag-style) into the bag. If it gets left behind, you know where it is before you even reach the baggage desk.
E-bike: the battery does not fly
An e-bike battery does not travel on a passenger plane, neither in the hold nor in the cabin. The rule is the same everywhere: above 160 Wh, a lithium battery is forbidden in passenger baggage (Swiss Federal Office of Civil Aviation, FAA). E-MTB batteries usually range from 400 to 900 Wh.
The bike itself, without its battery, is often refused too. SWISS does not accept e-bikes; Edelweiss only accepts them if the battery does not travel. Every airline has its own rule, to check before you book.
Three solutions, from the simplest to the most complicated:
- Rent on arrival. It is the simplest solution, and often the cheapest. For our trips to Morocco, you can rent an e-bike from the Exoride fleet for 390 CHF a week; in Switzerland too, our rental fleet is right there.
- Travel with your bike without its battery and rent one on arrival, if the airline accepts the bike and a compatible battery exists at your destination. That is rarely the case far from Europe.
- Ship the battery with a carrier. It counts as dangerous goods: approved packaging, long lead times, high cost. Only worth it for very long stays.
For Morocco, we have another solution: we drive down with our bus, and we can take your battery, or your complete e-bike, by road from Switzerland, depending on the dates and the space available. It is all explained in our article Flying with an e-bike: the battery does not get on the plane. In Georgia and Iran, our trips are for pedal-powered mountain bikes only.
What travels with you: tools, spare parts and forbidden items
Your tools and liquids go in the hold, your spare batteries in the cabin, and your CO2 cartridges stay at home. Here is what goes where.
Hold only
- Tools, multi-tool, tyre levers: in the cabin, most tools are confiscated at security.
- Tubeless sealant, chain lube: tightly closed bottle, in a freezer bag. In the cabin, not above 100 ml.
- Knife, cutter, side cutters: to cut the zip ties on arrival, put them in the bag.
Cabin only
- Power bank and spare batteries: they always travel in the cabin.
Hold or cabin
- Shock pump, hand pump: essential to set your pressures again.
- GPS, light, bike computer with a built-in battery: switched off.
- AirTag-style tracker: allowed in the hold thanks to its very small battery.
Leave at home
- CO2 cartridges: only with the airline's approval, and many refuse them. Take a hand pump.
CO2 cartridges deserve an explanation. Some authorities tolerate them in small quantities, for example four cartridges of 50 ml at most and always with the airline's approval (CASA, Australia). In practice, many airlines refuse them, and they are not always easy to find at your destination. A good hand pump solves the problem.
Spare parts to take
- A derailleur hanger specific to your frame, the most important of all (not needed with SRAM T-Type)
- A pair of brake pads, the right model
- A spare inner tube, even with tubeless, and plugs
- A tubeless valve and a valve core
- A quick link that fits your chain
- Two or three spare bolts: stem, faceplate, caliper
- Zip ties and a roll of strong tape
This list fits in a small pouch. Far from Europe, it can save your week, and the group's.
At the airport and on arrival
Arrive early, check your bike before leaving the airport, and put it back together without rushing. Most bad surprises can be sorted out on the spot, as long as you spot them straight away.
At departure
- Arrive at least 30 minutes earlier than usual. The bike is checked in at the desk, then often dropped off at an "oversized baggage" counter, sometimes after an X-ray.
- Keep the baggage receipt and the proof of payment for the sports baggage.
- Don't let the agent open the bag without you if you can avoid it. If they have to open it, help them close it properly.
On arrival
- Collect the bag from the oversized baggage belt, often separate from the main carousel.
- Open it and check the bike before leaving the baggage hall: frame, derailleur, rotors, wheels.
- If anything is broken, go straight to the airline's baggage desk and have a written report drawn up, with your departure photos. On international flights, the written claim usually has to be sent within 7 days for damaged baggage, and within 21 days for delayed baggage (Montreal Convention).
- If the bag does not arrive, file the report before leaving the airport, give the address of where you are staying, and let your guide know straight away so you can find a solution together.
Reassembly
Put it back together in the reverse order, using your reference marks and photos. The points not to miss:
- Torque settings: stem, handlebar, derailleur, rotors. The value is often printed on the part; on carbon, a torque wrench is not optional.
- Brakes: remove the spacers, fit the wheels, then squeeze each lever several times to bring the pads back into place. The first brake test must feel firm.
- Derailleur: run through all the gears while stationary, paying attention to the largest cogs. If it skips, the hanger may have taken a knock: time to get out your spare. With SRAM T-Type, set it up again following SRAM's instructions.
- Pressures: pump the tyres and suspension back up to the values you noted.
- Test: a lap of the car park before the first trail: brakes, gears, headset play.
Finally, store the bag properly: you will need it for the return. Put the spacers, foam and zip ties inside, so you have the whole kit on the day you leave.
Coming to ride in Switzerland?
This guide works the other way round too: if you are coming from abroad to ride in Valais, your bike flies to Geneva or Zurich, then takes the train. Everything above applies, with a few Swiss specifics.
- Geneva is the closest airport to Valais. A direct train links Geneva Airport to Martigny in about two hours. From Zurich, the journey is much longer.
- On the train, a dismantled and packed bike travels free as hand luggage (TCS, in French). With a big bag, avoid rush hour and board at the front or the back of the train.
- If you reassemble your bike at the airport, it travels as a bike: it needs a ticket, and a space reservation is compulsory on InterCity trains from 21 March to 31 October.
- On an e-bike, the battery rule applies to Switzerland too. The simplest option is to rent a mountain bike or e-bike from the Exoride fleet for the length of your stay.
- Think about the return as soon as you arrive: keep the bag or the box dry, with the spacers and the foam, so you can pack up again without buying anything.
To ride with us, have a look at our trips in Switzerland and our MTB shuttles in Valais, from March to mid-November.
The checklist to keep at hand
Keep it on your phone or print it, and tick things off as you go.
As soon as you book your flight
- Sports baggage declared and paid, outbound and return
- Maximum weight and dimensions checked for your bag
- Bike insurance checked, invoice found
- Transfer on arrival booked with space for the bike, confirmed in writing
- E-bike: rental on arrival booked
One week before
- Service done: brakes, tyres, drivetrain, suspension, bolts
- Tubeless sealant topped up if needed
- Spare derailleur hanger bought (except SRAM T-Type)
- Spare parts gathered in a pouch
- Brake spacers, fork spacer and rear axle spacer found
The evening before
- Bike cleaned
- Reference marks taken: saddle, handlebar, controls, pressures, cockpit photos
- Pedals, wheels, rotors, derailleur and handlebar removed and protected
- Spacers in place in the calipers, the fork and the rear triangle
- Tyres deflated, about 1 bar with tubeless
- No CO2 cartridges and no batteries in the bag
- Bag or box weighed, labelled inside and out, box wrapped in film
- Tracker slipped into the bag
- Photos of the packed bike and the closed bag
At the airport
- Arrived 30 minutes earlier than usual
- Baggage receipt kept
- Power bank and spare batteries in the cabin
On arrival
- Bike checked before leaving the baggage hall
- Reassembled to torque, brakes and gears tested
- Tyre and suspension pressures set again
- Bag and packing kit stored for the return
Frequently asked questions
Do I really have to deflate the tyres?
Yes, because most airlines require it. Technically, the hold is pressurised and a tyre is not going to burst. Let most of the air out, but keep about 1 bar in tubeless tyres so they stay seated.
What about the suspension?
No need to let the air out. Simply note your pressures before you leave and check them on arrival with your shock pump.
Bag or box?
Both work, outbound and return. The box protects very well and needs the least dismantling, as long as you wrap it in film against the rain and keep it dry on arrival. The bag is easier to carry and to store.
How much does it cost to fly with a bike?
From nothing at all to over a hundred francs per flight, depending on the airline and your class of travel. Some include a bike in the baggage allowance, others charge for it separately. Compare before you choose your flight.
Can I take my e-bike?
Not its battery: above 160 Wh, it is forbidden on passenger planes. The bike on its own is often refused too. Renting on arrival remains the simplest solution.
What about my CO2 cartridges?
Leave them at home and take a hand pump. A few authorities tolerate them in small quantities with the airline's approval, but many airlines refuse them.
My bike arrived damaged, what should I do?
Don't leave the baggage hall: go to the airline's desk and have a written report drawn up, with your departure photos. Then send your written claim to the airline, usually within 7 days.
How long does it take to pack a mountain bike?
An hour the first time, half an hour after that. Reassembly takes about the same time.
Ready for take-off
Well packed, your bike arrives the way it left, and your trip starts with a ride, not a repair. The first packing takes time; the second becomes a habit.
If removing a derailleur or adjusting a drivetrain still makes you hesitate, the mechanics workshop at the Exo'base teaches you the basics on your own bike, in a small group.
And if you are looking for where to take it, or you are coming to ride with us:
- Switzerland, from March to mid-November: our trips in Valais and our MTB shuttles, two hours by train from Geneva Airport.
- Morocco, from October to March, between the singletracks of the High Atlas and the tracks of the south. To choose between our two winter trips, read our comparison Endu'Rock the Casbah or Zagoride.
- Georgia, one expedition a year in the Caucasus, with horses to carry the bikes up to the passes.
- Iran, from late May to mid-October, far from the well-known trails.
A question about your bike's logistics for one of our trips? Write to us before you book your flight, and we'll help you get everything ready.
Chris